
How to Clean a Diesel Particulate Filter: DIY Tips and Tricks
SS
Understanding the Diesel Particulate Filter (DPF)
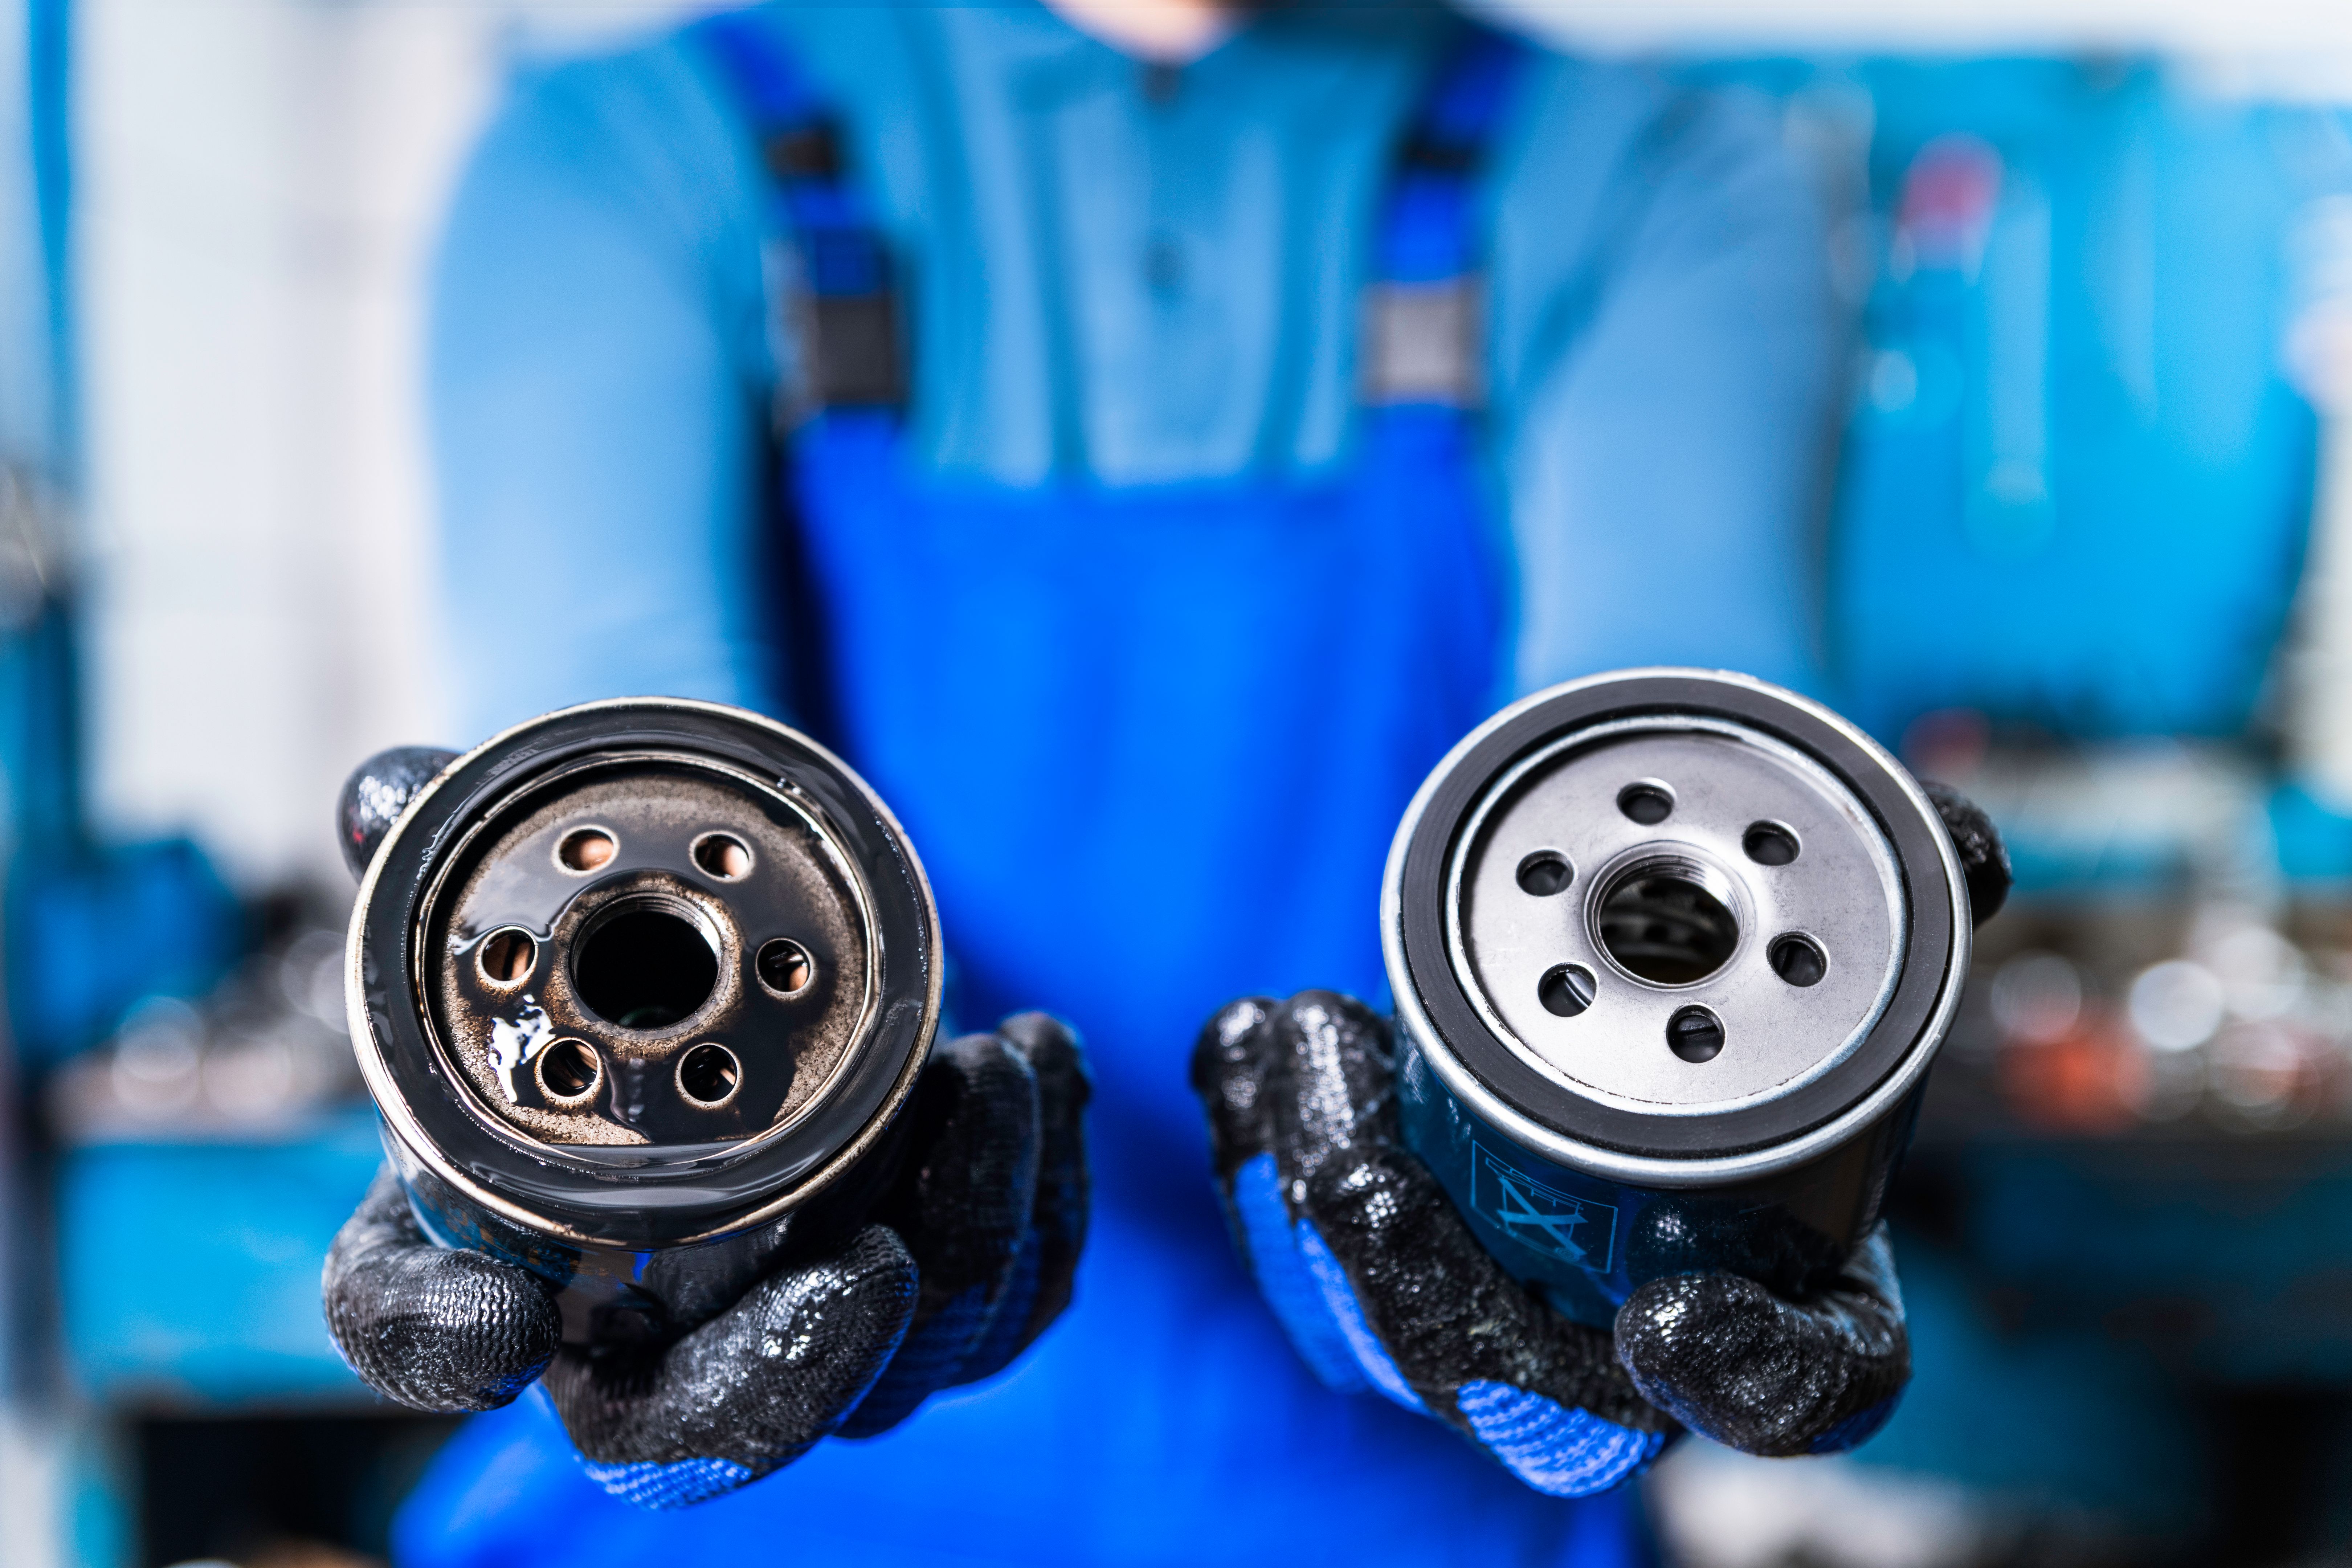
The Diesel Particulate Filter (DPF) is a critical component in modern diesel engines, designed to reduce emissions by trapping soot and other particulates from exhaust gases. This helps decrease environmental impact and ensures compliance with emission standards. However, like any filter, the DPF can become clogged over time, affecting engine performance and fuel efficiency.
Regular maintenance of your DPF is essential to keep your vehicle running smoothly. While many opt for professional cleaning services, you can also clean the DPF yourself with some basic tools and knowledge. In this guide, we'll explore some DIY tips and tricks to help you clean your DPF effectively.
Signs Your DPF Needs Cleaning
Before diving into the cleaning process, it's crucial to recognize when your DPF is due for maintenance. Common signs include reduced engine power, increased fuel consumption, and warning lights on the dashboard. Additionally, if you notice a strong odor of diesel fumes or experience frequent regeneration cycles, it's likely time for a DPF cleaning.
Ignoring these signs can lead to more severe issues, such as engine damage or complete filter blockage. Regular cleaning not only extends the life of your DPF but also improves overall vehicle performance.
Preparing for DPF Cleaning
Cleaning your DPF requires some preparation. First, ensure you have the right tools and materials. You'll need a pressure washer, air compressor, and a suitable DPF cleaning solution. It's also advisable to wear protective gear, such as gloves and goggles, to safeguard against any harmful chemicals.
Before starting, consult your vehicle's manual for specific instructions related to the DPF. This will help you understand any model-specific requirements or precautions to take during the cleaning process.

DIY DPF Cleaning Process
Once you have everything ready, you can begin the cleaning process. Follow these steps to ensure a thorough job:
- Remove the DPF: Start by carefully removing the DPF from your vehicle. This may require loosening bolts and disconnecting sensors, so take your time to avoid damage.
- Inspect the Filter: Check for visible damage or excessive clogging. If the filter is severely blocked or damaged, professional cleaning or replacement might be necessary.
- Apply Cleaning Solution: Use a specialized DPF cleaning solution to break down soot and deposits. Follow the manufacturer's instructions on how long the solution should be left to work.
- Rinse Thoroughly: Use a pressure washer to rinse out the cleaning solution and loosened debris. Start with low pressure to avoid damaging the filter.
- Dry Completely: Ensure the filter is thoroughly dried using an air compressor before reinstalling it in your vehicle.
Post-Cleaning Tips
After reinstalling the DPF, it's important to check for any error codes or warning lights that might indicate improper installation or residual issues. A short test drive can help you ensure everything is functioning correctly.
To maintain your DPF in good condition, consider incorporating regular highway driving into your routine. This helps facilitate passive regeneration and prevents excessive soot buildup.
When to Seek Professional Help
While DIY cleaning can be effective for routine maintenance, there are times when professional assistance is necessary. If your DPF is severely clogged, damaged, or if you're unsure about the cleaning process, consult a professional mechanic. They have specialized equipment and expertise to handle complex issues and ensure your vehicle remains in top condition.
Ultimately, taking care of your diesel particulate filter not only enhances your vehicle's performance but also contributes to a cleaner environment. By following these DIY tips and tricks, you can keep your DPF in optimal shape while saving on professional service costs.